How to Change Your Blogger Template
1
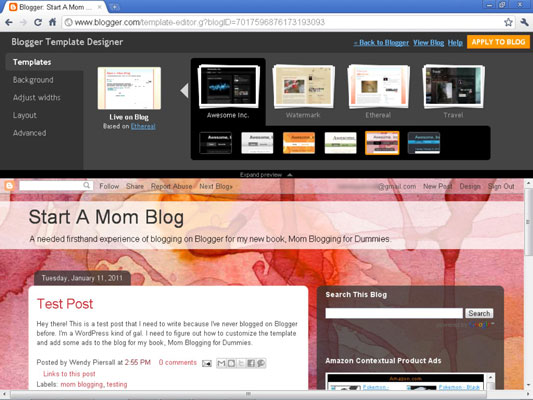
Go to your Blogger Dashboard and launch the Template Designer by clicking the Design link.
Then click the Template Designer tab. The Template Designer has five sections, and the first one that appears here is the Templates section.
2
Choose a base theme to modify by scrolling through the thumbnails and clicking a thumbnail to preview the theme.
Scroll through the existing template designs and click various thumbnails to preview the theme on your blog on the bottom half of the screen. There are more selections here than when you first set up your blog. Each template layout also has alternative color palettes.
When you’ve chosen a template to use, click it and move on to the next step.
3
Click the Background tab, and then click the arrow next to the thumbnail of the existing background image.
The Select Background Image window appears.

4
Click a tab along the left side of theSelect Background Image window to choose a different image theme, and select the image you want.
Click Done when you’re satisfied.

5
Click the Adjust Widths tab and use the sliders to change the Entire Blog and Right Sidebar widths.
For best browser compatibility, keep the width of your Entire Blog at or under 930 pixels. If you want to add advertising to your sidebar, you will want to make sure that the Right Sidebar is at least 300 pixels wide.
6
Click the Layout tab and select your blog layout.
Blogger has several pre-determined layouts that you can choose from. These will adjust how many sidebars you have, where your sidebars will appear, and how many sections you want in your blog footer.
7
Click the Apply to Blog button at the top right.
Your changes are now live on your blog.
No comments:
Post a Comment